

Bringing Your Headlights Back to Life: A Step-by-Step Guide
Headlight Restoration: How to Restore the Clarity of Your Headlights
Driving a vehicle for an extended period of time can result in yellowing, hazy, or cloudy plastic lenses on your headlights. This can significantly impair the effectiveness of your headlights and make it difficult to see while driving at night. Fortunately, restoring the clarity and brightness of your headlights is a straightforward process that involves using a pneumatic sander, headlight compound, polish, and sealant.
Step 1: Sanding

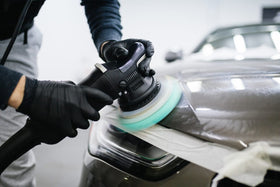
To begin restoring the clarity of your headlights, it is important to remove the yellow, hazy surface of the plastic lens. This can be done using a pneumatic 3-inch sander and different grades of 3-inch sandpaper. It is recommended to start with a coarse grit of sandpaper and progress to finer grits to achieve a smoother and clearer finish. It's important to sand evenly to avoid creating any deep scratches or an uneven surface on the lens. Using water as a lubricant during the sanding process can help reduce heat buildup and prevent the sandpaper from clogging.
It's important to use the correct type of pad with your 3-inch sander or polisher machine. For sanding, a foam pad with a rough texture is recommended. For polishing, a soft foam pad is recommended to avoid causing any damage to the lens.
Step 2: Headlight Compound

The next step is to use a headlight compound to remove any remaining oxidation or scratches on the lens. The headlight compound is a heavy-duty abrasive that is applied with a microfiber towel or a foam pad and worked into the lens in a circular motion. Be sure to follow the instructions for the headlight compound you are using, as some products may need to be left on the lens for a certain amount of time before being wiped off.
Step 3: Headlight Polish

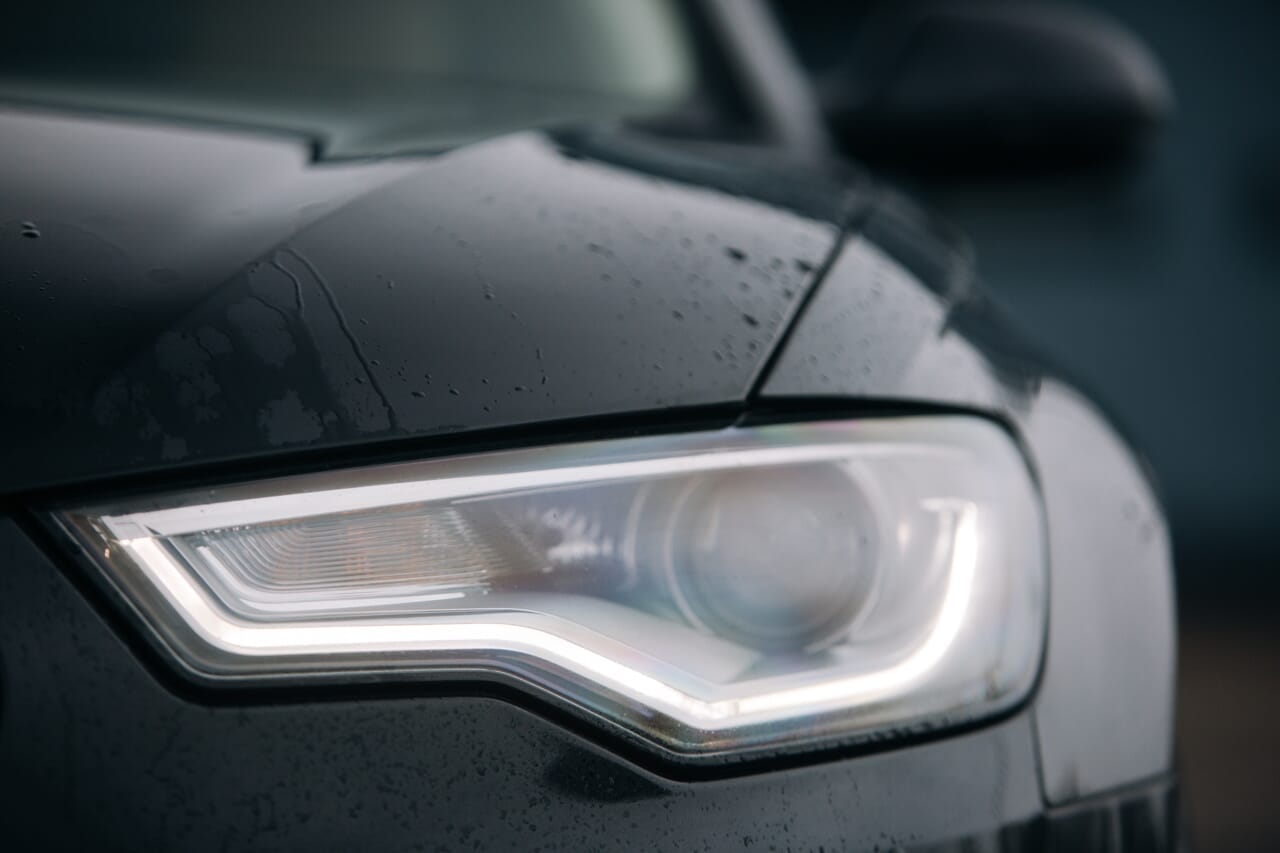
After using the headlight compound, the lens should be clear of oxidation and scratches. The next step is to use a headlight polish to restore the shine to the lens. The polish is applied in the same way as the compound and worked into the lens in a circular motion until the lens is clear and shiny.
Step 4: Headlight Sealant

The final step is to apply a headlight sealant to form a protective barrier over the lens to prevent future yellowing or hazing. The sealant is typically applied using a foam pad and worked into the lens in a circular motion until the entire surface is covered. Some sealants can yellow over time, so it may be necessary to reapply the sealant periodically to maintain the clarity of the lens.
In conclusion, restoring the clarity and brightness of your headlights is a simple process that involves using a pneumatic sander, headlight compound, polish, and sealant. By following these steps and using water as a lubricant during the sanding process, you can effectively restore the clarity of your headlights and improve their performance while driving at night. It's important to be cautious when using a pneumatic sander and to wear eye protection and a dust mask to protect yourself from debris and dust generated by the sander.
Leave a comment